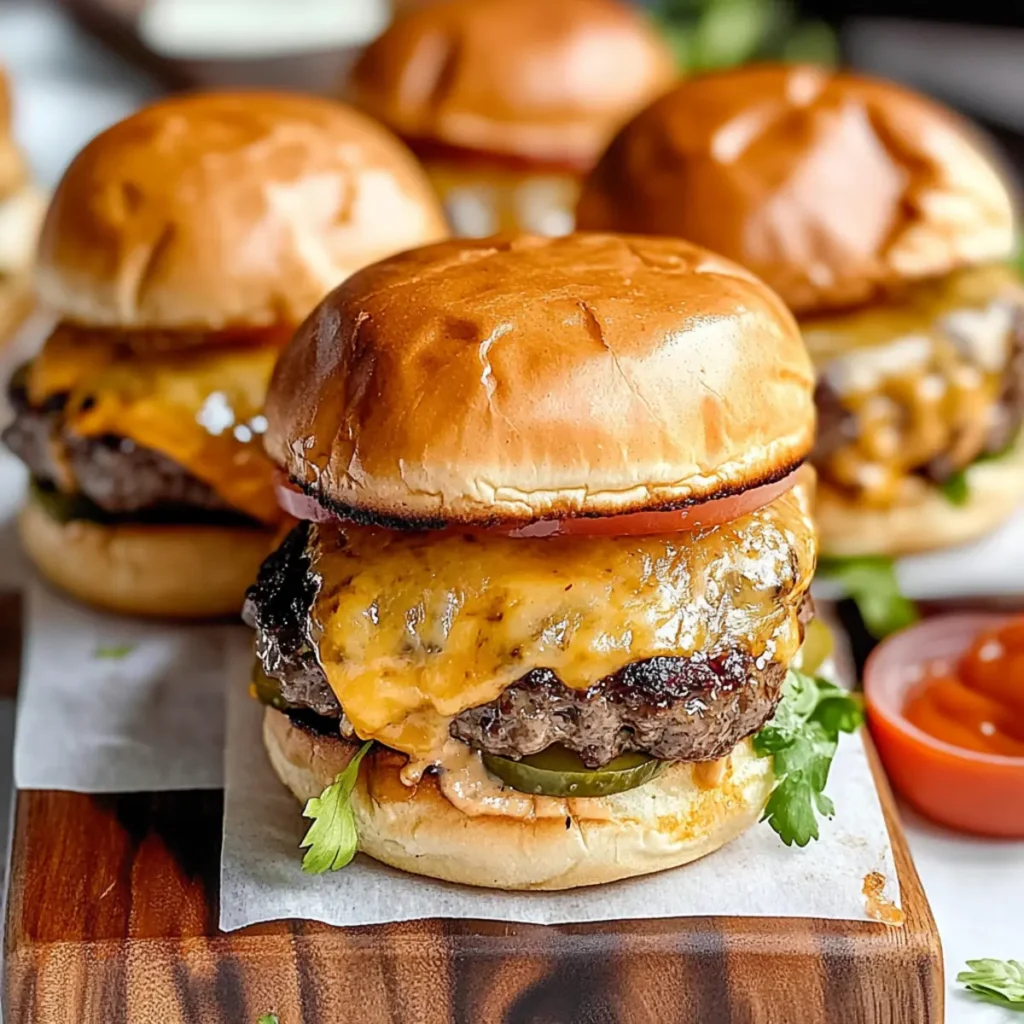
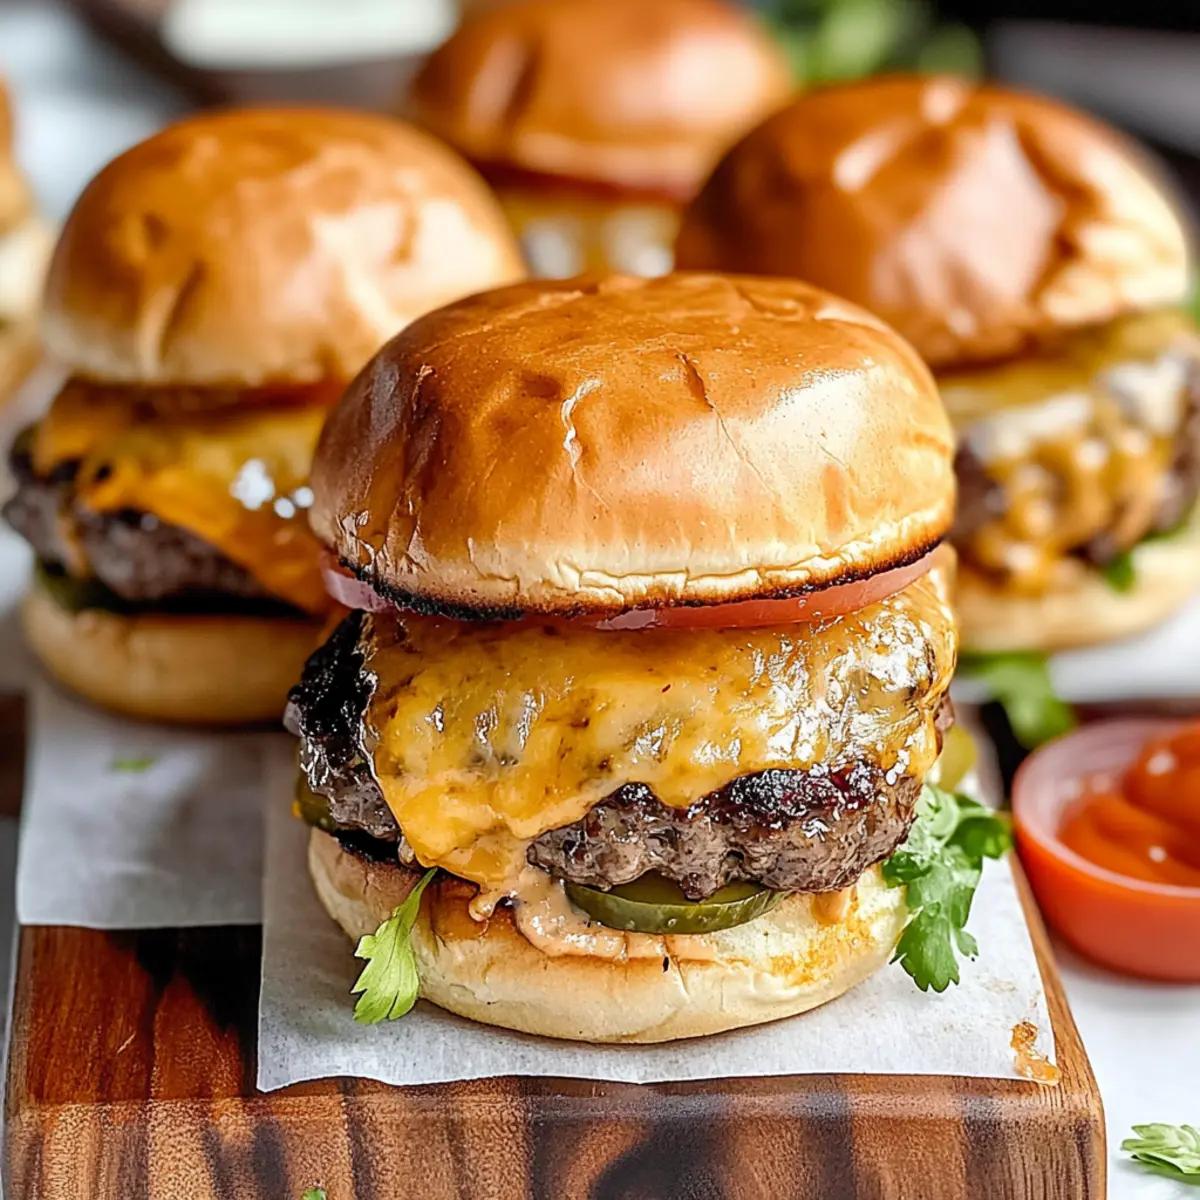
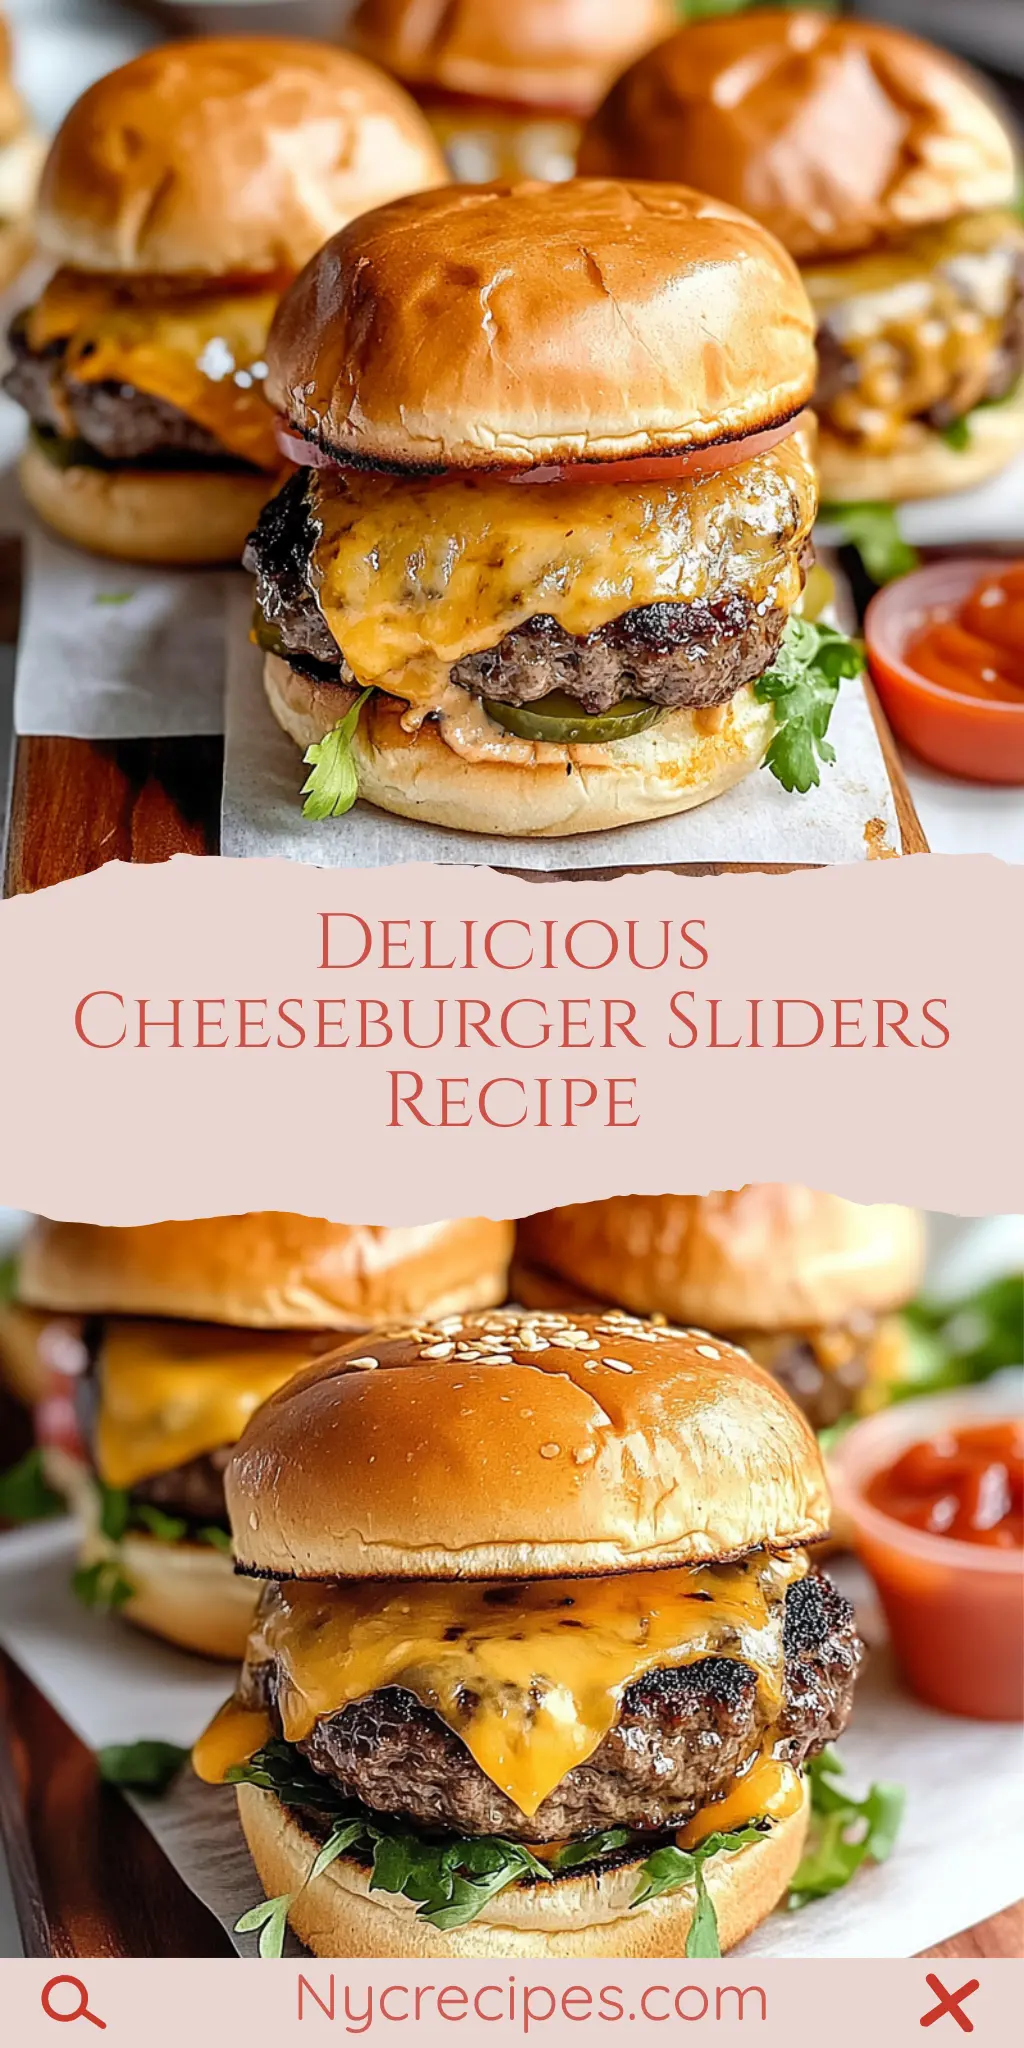
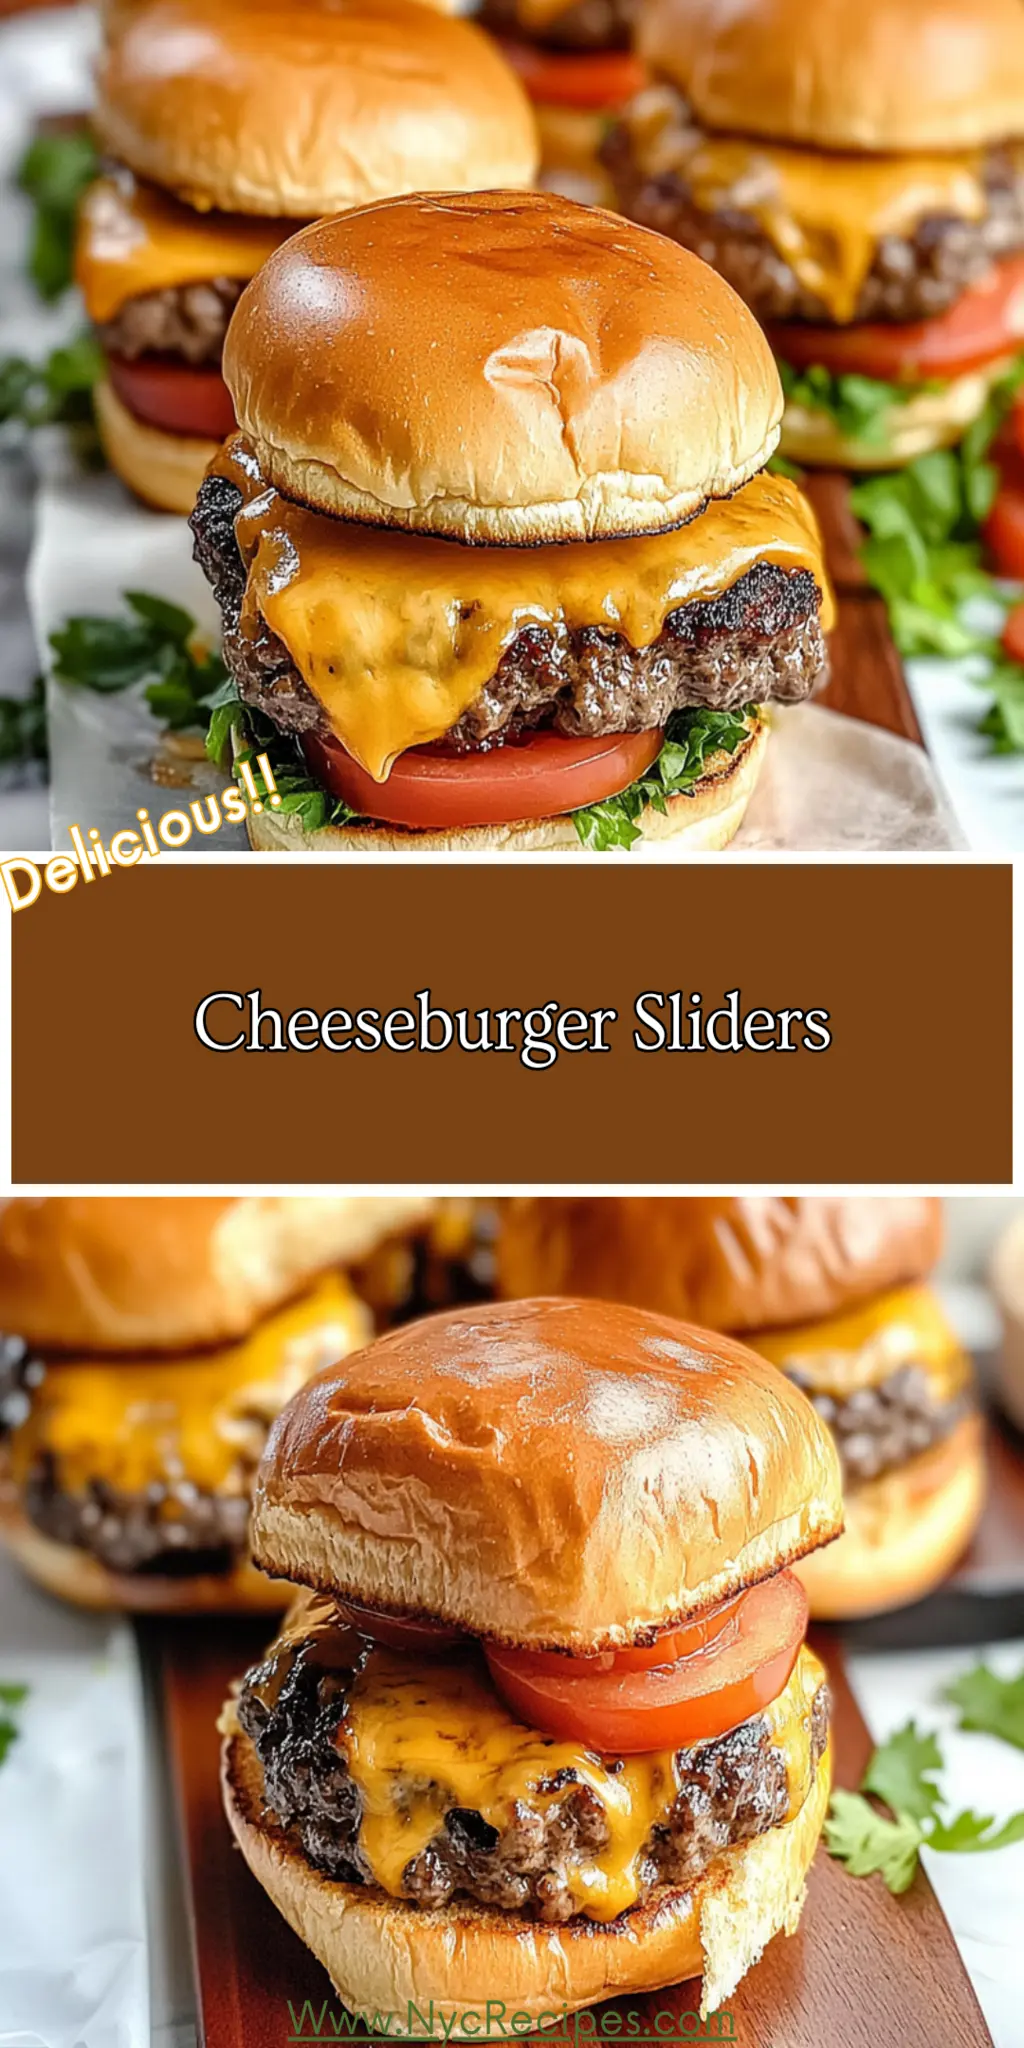
There’s something irresistibly satisfying about biting into a juicy, cheese-laden cheeseburger slider that just screams comfort food. These Cheeseburger Sliders stand out with their blend of savory beef and gooey cheese, perfect for satisfying those snack cravings or adding a pop of joy to your dinner table. Picture it: warm buns, grilled patties, and just the right amount of tangy condiments—that heavenly combination is hard to beat.
I still remember the first time I made these delights for a backyard barbecue. Friends gathered around, laughter filling the air, and as I pulled the sliders out of the oven, the intoxicating aroma had them drooling before they even took a bite. Trust me, once you’ve tasted these scrumptious cheeseburger sliders, you’ll want to keep this recipe handy for all your future gatherings!
Why You'll Love This Cheeseburger Sliders
- These incredible Cheeseburger Sliders transforms simple everyday ingredients into restaurant-quality flavors that will blow your mind completely.
- Foolproof recipe techniques guarantee perfect results every single time, making even novice cooks feel like professional chefs instantly.
- Stunning visual appeal with gorgeous colors and mouthwatering aromas creates the ultimate Instagram-worthy dish for any special occasion.
- Endlessly adaptable for different dietary needs while working beautifully for meal prep, date nights, or entertaining large groups effortlessly.
Ingredients for Cheeseburger Sliders
Here's what you'll need to make this delicious Cheeseburger Sliders:
1 lb ground beef – Choose lean ground beef for a balance of flavor and juiciness. A higher fat percentage can add extra flavor.
8 slider buns or Hawaiian rolls – Opt for soft, fluffy rolls, like Hawaiian, for a touch of sweetness that pairs beautifully with savory beef.
4 slices cheddar cheese – Classic cheddar melts well and adds that creamy, tangy flavor we all love in a cheeseburger.
4 tablespoon ketchup – A classic condiment that brings sweetness and acidity to balance the richness of the beef.
2 tablespoon mustard – Use yellow mustard for a tangy kick, or switch it for Dijon if you prefer something with more punch.
¼ cup pickled onions (optional) – These add a lovely crunch and tang that can elevate your sliders to the next level.
Salt and pepper to taste – Essential for bringing out the flavors in the beef, don't skimp on seasoning.
How to Make Cheeseburger Sliders
Follow these simple steps to prepare this delicious Cheeseburger Sliders:
Step 1: Preheat the Oven
Start by preheating your oven to 350°F (175°C). This ensures your sliders are warmed through and ready to serve in no time.
Step 2: Prepare the Beef
In a large bowl, combine the ground beef with salt and pepper. Get your hands dirty (it's part of the fun!) and mix until the seasoning is evenly distributed. Form the mixture into small patties, about two ounces each—perfect little bites of goodness.
Step 3: Cook the Patties
Heat a skillet over medium heat and gently place the patties in the pan. Cook them for about 4 minutes on each side until they reach your desired doneness. Don't forget to add the cheese on top of each patty during the last minute of cooking so that it can melt beautifully.
Step 4: Assemble the Sliders
While the cheese is melting, slice your buns in half. On the bottom half of each bun, place a patty with gooey cheese, a tablespoon of ketchup, and a burst of mustard. If you're feeling adventurous, throw on some pickled onions for an extra flavor kick, then cap them off with the bun tops.
Step 5: Bake and Serve
Arrange the assembled sliders in a baking dish and pop them in the oven for about 5 minutes, just enough time to warm everything through. This step makes the buns slightly toasted and absolutely irresistible.
Step 6: Enjoy Your Creation
Once they’re out of the oven, transfer the sliders to plates, and don’t forget to serve them with extra ketchup and mustard on the side. Your slider night is officially complete!
These cheeseburger sliders make for a perfect party dish, quick weeknight dinner, or even a fun family snack while binge-watching your favorite shows. Each slider is a tiny bundle of flavor and nostalgia that’ll keep you coming back for more. So go ahead, gather your ingredients, and prepare to impress your friends and family with these delightful cheeseburger sliders. Enjoy every cheesy, meaty bite!
You Must Know About Cheeseburger Sliders
- This showstopping Cheeseburger Sliders delivers restaurant-quality results using simple ingredients you probably already have at home.
- The perfect balance of textures and flavors creates an unforgettable dining experience that will have everyone asking for seconds.
- Picture-perfect presentation with vibrant colors makes this dish absolutely Instagram-worthy and guaranteed to impress any dinner guest.
- Incredibly versatile recipe that works beautifully for weeknight dinners, meal prep, special occasions, or even outdoor entertaining sessions.
Perfecting Cheeseburger Sliders Cooking Process
Start by preheating your oven to 350°F (175°C). Sear the slider patties in a skillet, cooking them to your preference before adding cheese. Meanwhile, prepare your buns for easy assembly right after cooking.
Add Your Touch to Cheeseburger Sliders
Feel free to swap ground beef for turkey or plant-based alternatives. Spice up your flavors with garlic powder or smoked paprika. You can also experiment with toppings like avocado, jalapeños, or a zesty aioli.
Storing & Reheating Cheeseburger Sliders
Store any leftover sliders in an airtight container in the fridge for up to three days. Reheat them in the oven at 350°F for about 10 minutes to maintain their deliciousness without drying them out.
Chef's Helpful Tips for Cheeseburger Sliders
- This professional-quality Cheeseburger Sliders relies on precise timing and temperature control to achieve restaurant-standard results consistently.
- Master the art of mise en place by prepping all ingredients beforehand, ensuring smooth execution and preventing any last-minute cooking disasters.
- The secret lies in layering flavors throughout the cooking process rather than seasoning only at the end for maximum depth.
- Pro tip: let the finished dish rest for optimal texture and flavor development before serving to hungry guests waiting eagerly.
Sometimes I make these sliders for game nights with friends, and the compliments on these little flavor bombs just make my heart smile. It's amazing how food can bring everyone together!
FAQs About Cheeseburger Sliders
What are Cheeseburger Sliders?
Cheeseburger sliders are mini versions of classic cheeseburgers, typically made with small patties of ground beef that fit perfectly on slider buns. These delightful bites often feature savory toppings like cheese, ketchup, mustard, and pickles, making them a crowd-pleasing favorite at parties and gatherings. Their compact size makes them ideal for appetizer platters or casual meals, allowing everyone to enjoy a taste without the commitment of a full-sized burger. Cheeseburger sliders deliver the same delicious flavors as traditional burgers but in an adorable, shareable form that's guaranteed to impress.
How do I customize my Cheeseburger Sliders?
One of the great things about cheeseburger sliders is their versatility. You can easily switch up the ingredients to suit your palate. Want a spicier version? Incorporate jalapeños or a touch of sriracha to the patties. If you’re seeking a different flavor profile, try using different types of cheese like pepper jack or Swiss. You can also play around with toppings such as crispy bacon, avocado, or fresh tomato slices. Creating your own unique twist makes cheeseburger sliders not just delicious but also personal to your taste!
How can I store Cheeseburger Sliders?
Leftover cheeseburger sliders can be stored easily for later enjoyment. Place them in an airtight container in the refrigerator, where they can last for up to three days. When you're ready to eat them, simply reheat the sliders in the oven at 350°F for about ten minutes. This method helps maintain their juicy texture and delectable flavors, making them taste almost as good as when they were first made. Storing them properly is key to enjoying these tasty bites later on.
Can I freeze Cheeseburger Sliders?
Yes, cheeseburger sliders freeze exceptionally well, making them a convenient option for meal prep. After assembling and cooking the sliders, allow them to cool completely. Then, wrap each slider in aluminum foil or place them in a freezer-safe bag. They can be frozen for up to three months. When you’re ready to eat, simply bake them straight from the freezer at 350°F until they are heated through. Freezing cheeseburger sliders is a brilliant way to have a quick and delicious meal on hand whenever you crave it!
Conclusion for Cheeseburger Sliders
In conclusion, cheeseburger sliders are a delightful addition to any meal or gathering, combining convenience with amazing flavors. They offer endless customization possibilities, making them suitable for everyone’s taste preferences. Whether you're hosting a party, enjoying a family dinner, or simply indulging in a quick treat, this recipe is a winner. Don’t miss out on creating these mouthwatering cheeseburger sliders that will have everyone coming back for more—your tastebuds will thank you!
- 1 lb ground beef
- 8 pieces slider buns or Hawaiian rolls
- 4 slices cheddar cheese
- 4 tablespoon ketchup
- 2 tablespoon mustard
- ¼ cup pickled onions optional
- Salt to taste
- Pepper to taste
Preheat your oven to 350°F (175°C).
In a large bowl, mix ground beef with salt and pepper. Form into small patties (about two ounces each).
Heat a skillet over medium heat and cook patties for about 4 minutes on each side until desired doneness. Add cheese during the last minute to melt.
Slice buns in half and assemble by placing a patty on the bottom half, adding ketchup, mustard, and pickled onions if using. Cap with bun tops.
Place assembled sliders in a baking dish and bake for 5 minutes until warmed through.
Serving: 1sliderCalories: 220kcalCarbohydrates: 21gProtein: 10gFat: 12g
Feel free to customize with different toppings or substitute the beef with turkey or plant-based options. Great for meal prep and gatherings!